Showing posts with label Simplicity pattern. Show all posts

Sunday, July 21, 2013

Federalist Dress

Well I started a Regency day dress that I finished just in time for 4th of July. I think it looks really patriotic. :) I bought this material from Hancock Fabrics on sale, seven yards for $21!! I thought it was a deal. :) Although my mom had to convince me to buy it over a pretty orange-peachish material.  In the end she got the orange-peach material for a Regency dress for herself (another blog post coming) and I absolutely love my new Regency dress!

I used Simplicity pattern 4055 dress A, top only. For the skirt, I just used the whole 45'' width and cut it to my height.

Photo


Well I'll just jump right into this. I cut out my material and started sewing. First things first I attached the side back to back.


Now I truly did try to a line my stripes but as you can see they didn't turn out so great. :P

Up next, shoulder seams.

My stripes are a little more in line.


Side seam

I then repeated on the other side and to the lining. Now on all my dresses I have been putting in a waist-band, I just find it more fitting. For the pattern for the waist-band I used Period Impressions 460.

Here is my waist-band on both my lining and top.


Bodice front wright side out.


I then tackled the sleeves!  I had this vision when I was starting the dress to make a 3D puff sleeve.  So I just went with it and I think they turned out pretty good! :)  I first had to gather the sleeve at the top and bottom to fit the arm hole and cuff.  I cut out four strips 9 inches long and four strips 7 inches long, 1 inch wide (width of one stripe) with some excess for hem.

My 9 inch stripe.


Sew each strip on top of same colored stripe on top and bottom.

Attaching cuff to sleeve.

Hand turning cuff to inside of sleeve.

The finished sleeve!!

These beautiful blue-gray shell buttons for closure in the back.

Silk piping I hand sewed on my sleeve cuff, arm whole, waist-band, and hem.
The finished product!!

Will add more photos to the blog later.  I had a lot of fun making this dress and sewing on the piping! <3

~Bascha


Tuesday, July 2, 2013

Bascha's Civil War Corset

Well here is my first attempt at a blog post. Here goes!  :)

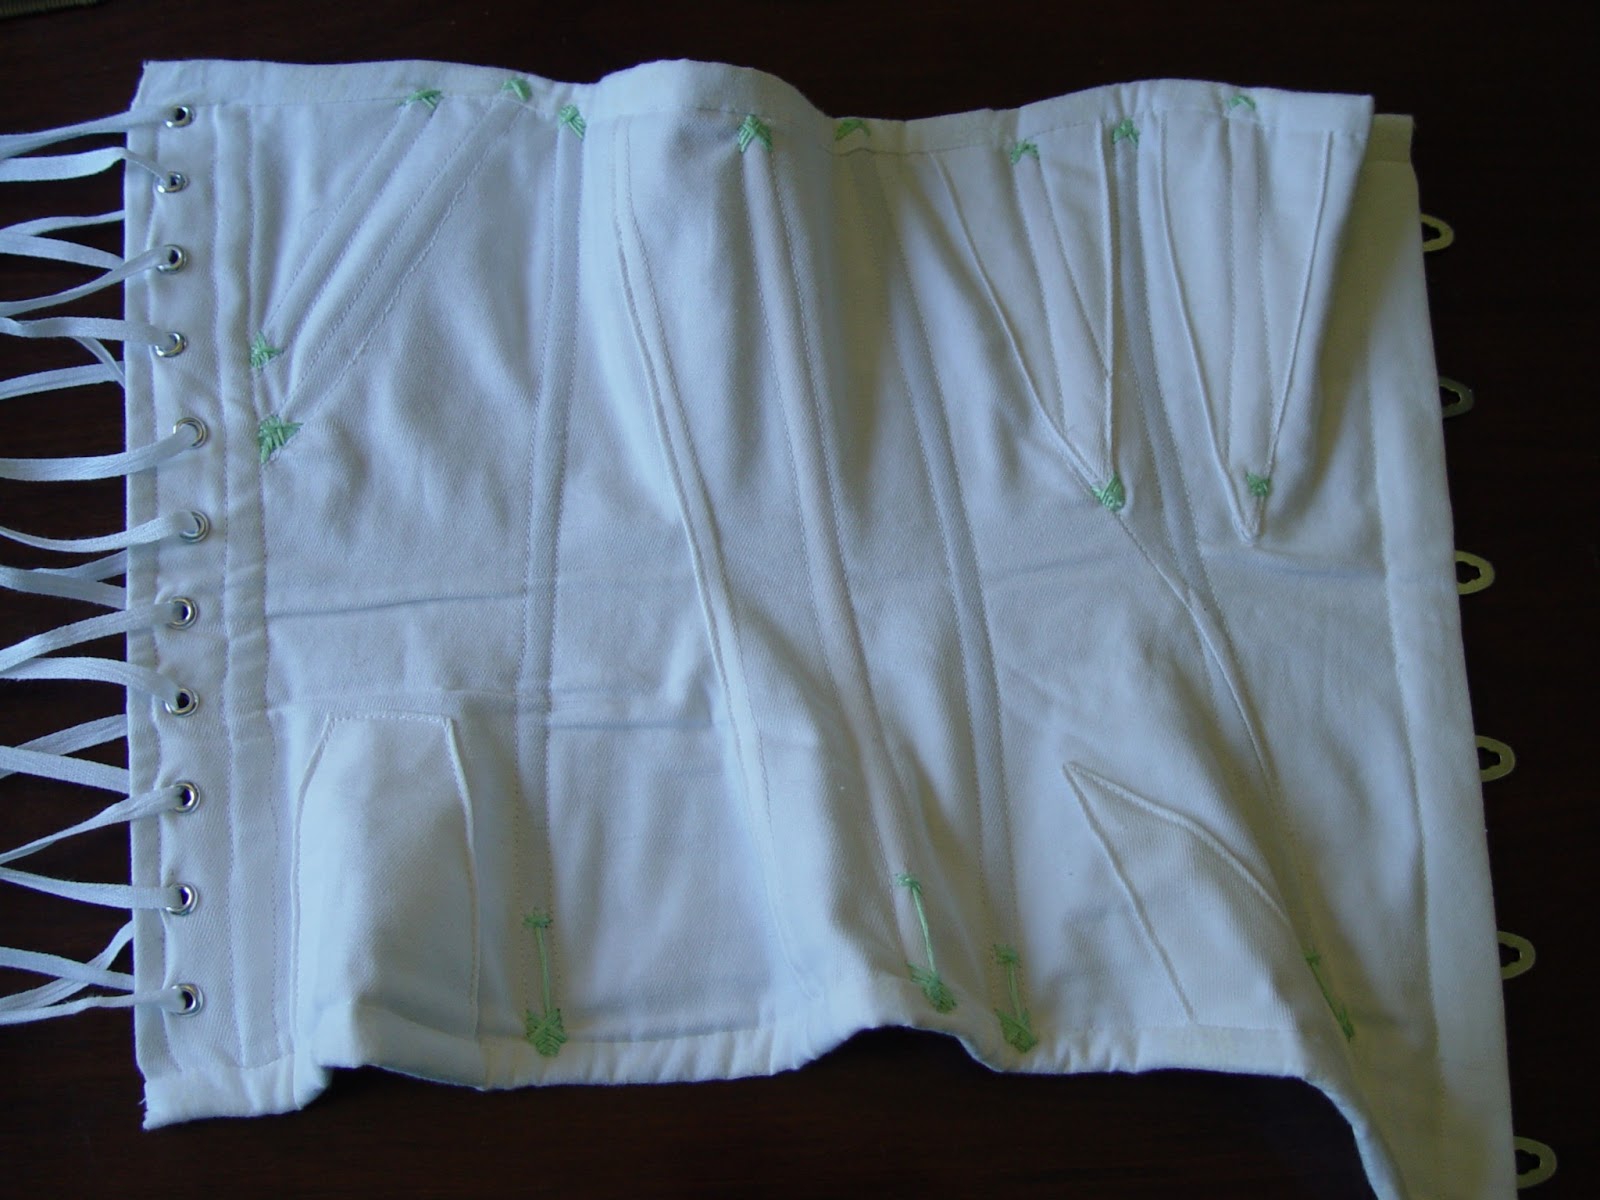
I began a Civil War corset the other day using the Simplicity pattern 2890. This is the first corset I have made and so far it has been pretty simple. It is a very easy pattern and the directions are easy to follow. The only thing that I would recommend; is sew in a lining to help with support. Theresa added reed boning to the bust gussets for support (which I will do also).  I made my chemise from another pattern which I might write a post on later. And for my bloomers; I bought a pair of linen pants from the thrift store and turned them into a pair of 1860's bloomers!! Love the thrift store!! <3

Corset, Drawers and Chemise (Museum Collection)


For my boning I have ordered the boning kit from Originals-by-Kay,Originals-by-Kay. Which are absolutely great. If you are making a civil war corset with this pattern I would highly recommend using Kay's, she is cheap and they arrived in no time!  :D

 For the front of my corset I used a cotton twill and for my lining I am using a cotton with a paisley pattern. After I had finished washing both materials, they were both so soft!

I first made a mock up of my corset with some scrape sheet I had and decided with the help of Theresa to make the bottom of the corset a size larger. But other than that it seemed to fit pretty well in all of the other places. :) So lucky for me I didn't have to make many alterations! I usually like to make a mock up of garments that look like they are going to be tricky to sew or need a perfect fit (such as a corset).

I started off with sewing all the stitching lines, then sewing the dart in the front of the corset. I then made a slit  down the middle of the stitching lines. I attached all of the gussets by matching the edge of the gusset to slit and stitching lines as so:


After I sewed down the gussets I had a bit of extra material near the point, as you can see in the first photo, so I just cut it off. :P


The front side gusset.


The back side gusset. It was actually squared at the top.


After attaching all of the gussets I had to sew the front to the back with wrong sides together. Which for me, to sew two pieces of material with wrong sides together is scary. I always think I am sewing it wrong!


I then turn the seam into a french seam, which at first sounds difficult but is quite easy just a little bit more time consuming. After you sew a 5/8 seam allowance you cut one side of it to a 1/4 of an inch. The pattern had me cut  the side towards the back. You then double fold the larger side of the seam flat over the top of the 1/4 inch seam. And then sew nearest to the edge. 


And then you have this beautiful seam on the sides!


I just repeat all the same steps for the lining.


I then sewed the lining to the front with wrong sides together with a 1/4 inch seam allowance. I attached it all the way around, but I should have only attached it only on the sides. For now I shall have to seam rip most of the top for me to place my boning in it. :P


I am almost done with my corset!! The last step I did before my boning arrived was to fold and iron the sides to form a reinforcement for the eyelets.

                                               
All that is left now is to sew my boning in!!!!!  :D


  My completed corset!! Well at least half of it. :P


 This is the flossing I did at the bottom of each bone. I used DCM cotton embroidery floss. Mint green my favorite color!


 The flossing at the top of the bones.


 Me in the corset!
For my binding I used scrap cloth from my corset lining.


 The front


 The side


 Back


My civil war outfit, I did not make it, with the corset on. I have to make the bodice smaller!


It was fun making this post! Wow, there are 22 photos on this post, hehe! :D


~Bascha

Thursday, June 27, 2013

A Civil War Corset for Caroline

So I made my little sister a pretty dress.  There was a problem.  It wouldn't meet in the waist. (arg...the problems of sewing without a pattern....)  So I had one option, and that was to make her a corset (she had been bugging me about one anyways), and so I did.  And I'm sure this is like totally not period for a 13 year old, but it's boned with steel.  I figured if I was gonna cinch, I'd better cinch, and she didn't want a corded corset and hey, the boning kit was only $28 with shipping.

I am  not an advocate for tight-lacing.  I think it's bad for you, and vain.  But, Caroline is only going to wear this dress one time, and just for one day, and if she stays inside in the air conditioning I think she'll be alright.  I am going to pack her other dress just in case I change my mind and decide that the corset should be laced looser.  She does have a little bit of a squishy middle, and with 3 inches off her waist in the mock-up she felt fine, and she could breathe easily.  I have 3 inches off my waist when I wear my corset, and it's just *slightly* uncomfortable, but it's not at all tight-laced. And I don't have a squishy middle at all.   Her waist only needs to shrink about 1 1/2" past the mock-up waist.

Bascha is making a civil war corset off of the same pattern (Simplicity 2890) and she's also making a blog post out of it. (hers really is lovely, I haven't seen the flossing yet but everything Bascha makes is really nice-not just nice looking but well constructed too.  She likes to pay attention to the details, like the lining, and the flossing, and the little things that make something truly wonderful.  You'll like her things, I promise! She really is a seamstress...I'm just a seamstress in training :P )  So I'm not going to give any details so much as to how I made this corset...just some pictures of the finished thing.

I bound the corset with white cotton bias tape, which worked better than the twill tape I bound (parts) of mine with.  (Now that I've made hers I want to go and re-do parts of mine....) The corset itself is two layers of cotton twill (very sturdy cotton twill), and the flossing is done with cotton embroidery floss.

whole corset

I did decide to add some lace at the top, it's very
feathery and feminine and she likes it
 All the bones are flossed at the top as well, but the flossing is white.  I only did colored flossing and designs at the bottom of the corset.
triangular flossing on the angled back
bones

flossing on the bottom of the back bones (by the eyelets)

 There are no grommets yet--I don't have any grommets, much less the grommet making machiny thingy.  Bascha does though, and she lets me use hers :D  So next time I go over to her house, voila, the grommets will be there!

the bottom of the corset


the front and busk
Now I'm done with corset making for a while...on to more drab things like fixing shoes, hemming pants, making boys shirts, painting bonnets and sewing button holes. :D

***UPDATE***
Her corset has grommets now, and her corseted waist is 23 1/2 inches, so it only took 4 inches off, which isn't too bad.  Mine, I found out, only takes off two. :P  For laces, we are using the kind of ribbon that has horizontal lines on it...maybe it's called grosgrain...I"m not sure. You can't pull hard enough with the twill tape we have-it just tears into pieces.  This ribbon is very sturdy and is working quite nicely though!

I'm so happy....the gap is even all the way down! Yay! :D

~Theresa