Showing posts with label tucks. Show all posts

Thursday, May 15, 2014

Vintage Inspired Summer Dress

Just a little blurb here, the dress is not historical, made only for modern wear. But it's still cute and I like it, and thought you might want to see it :).

Stats: Around 4 yards of sheer red cotton, bought for a regency dress that never got made. Lined with sturdy white cotton sheets. 6 buttons. Draped. Side zipper.
I thought I'd try and join the bandwagon of adding pretty fonts to photos. Yay or nay? What would ya'll think if I started doing this? 


I feel very Edwardian for some reason....
cloth covered buttons
there are three 1/4 inch tucks on each side of the bodice front, and on the skirt


I lightened this photo so you could see the checks in the fabric that are lost in most of these photos. It really is a lovely fabric!
top stitching on the waistband


the box pleats
These were the main pictures I used for inspiration. (via Pinterest)
the diagonal tucks
one of many box pleated frocks. I also box pleated because that's good for spoon body shapes, or so I read. Seems good to me :)
the darling peter pan collars
and a sweet dress with cloth covered buttons
I think I'll be wearing this dress a lot this summer. It's airy, well fitted, and definitely has a vintage feel to it.

~Theresa

Tuesday, December 3, 2013

Making Some Fluff

With a new, late Regency (1820's) dress on the horizon, and 2 outgrown bodiced petticoats in storage, it was time to make a new one.

My first bodiced petticoat was a real shame.   I have to whisper that because Caroline wears it now :P.  It's cute, but it has waaaaaay too many hooks and eyes on the back (all upside down, in case you were wondering), ribbon flowers down the bodice front, and plenty of showing serge.  Not to mention the fact that the only thing I thought to use for a pattern was a size small nursing dress bodice.  What was I thinking.
ah yes...add as many gaudy ribbon flowers and beads as ya like.  I didn't even wear a shift under it...what was I thinking!!!???? Can't post the full pic of it on my blog...a little too much skin and cleavage than I'm comfortable sharing :P
Second bodiced petticoat was fairly accurate.  It had 2 rows of cording at the bottom, and a nice ruffle.  I draped the bodice myself, and it had 3 little buttons on the back.  The only major problem was that the skirt was like 6 inches too long in the back...Bascha had to pin it up every time I wore it :P.  (Love you Bascha! :D)  I liked that petticoat though, and it served me well...until I grew way out of it :(.
showing where the under-bust line is (top of my finger)
I've just now completed my third petticoat :). It's not a bodiced petti, but an un-bodiced one (lol).  I had seen a few examples online, of petticoats without a bodice.  I figured this might be a better idea for me, since my bust is obviously not done growing yet. Instead of having to either rip apart my petti and sew a new bodice, or sew another one, I could just do nothing! :D

                                                       Petticoat
High waisted Regency petticoat with straps.

So that is what I've done.  Stats are: cotton, machine sewn, no patterns, 7 tucks.
I am still thinking of adding those narrow straps.  My waist is the same size as my ribcage (28") and so I've got a feeling it'll slide down lower on my body than it needs too.  The straps would help keep it up.
Also...I'm taller than Madame.  This petticoat hits just lower than mid shin.

It ties completely shut on me, I think I actually need to add another dart to make that band tighter.  If I were to grow in width, I can always just tie it with a gap or let all my waistband tucks out.
Now I've made some fluff for under my dress, and can run off to sew some pantalets.
~Theresa

Sunday, July 21, 2013

Striped Calico~A Photoshoot

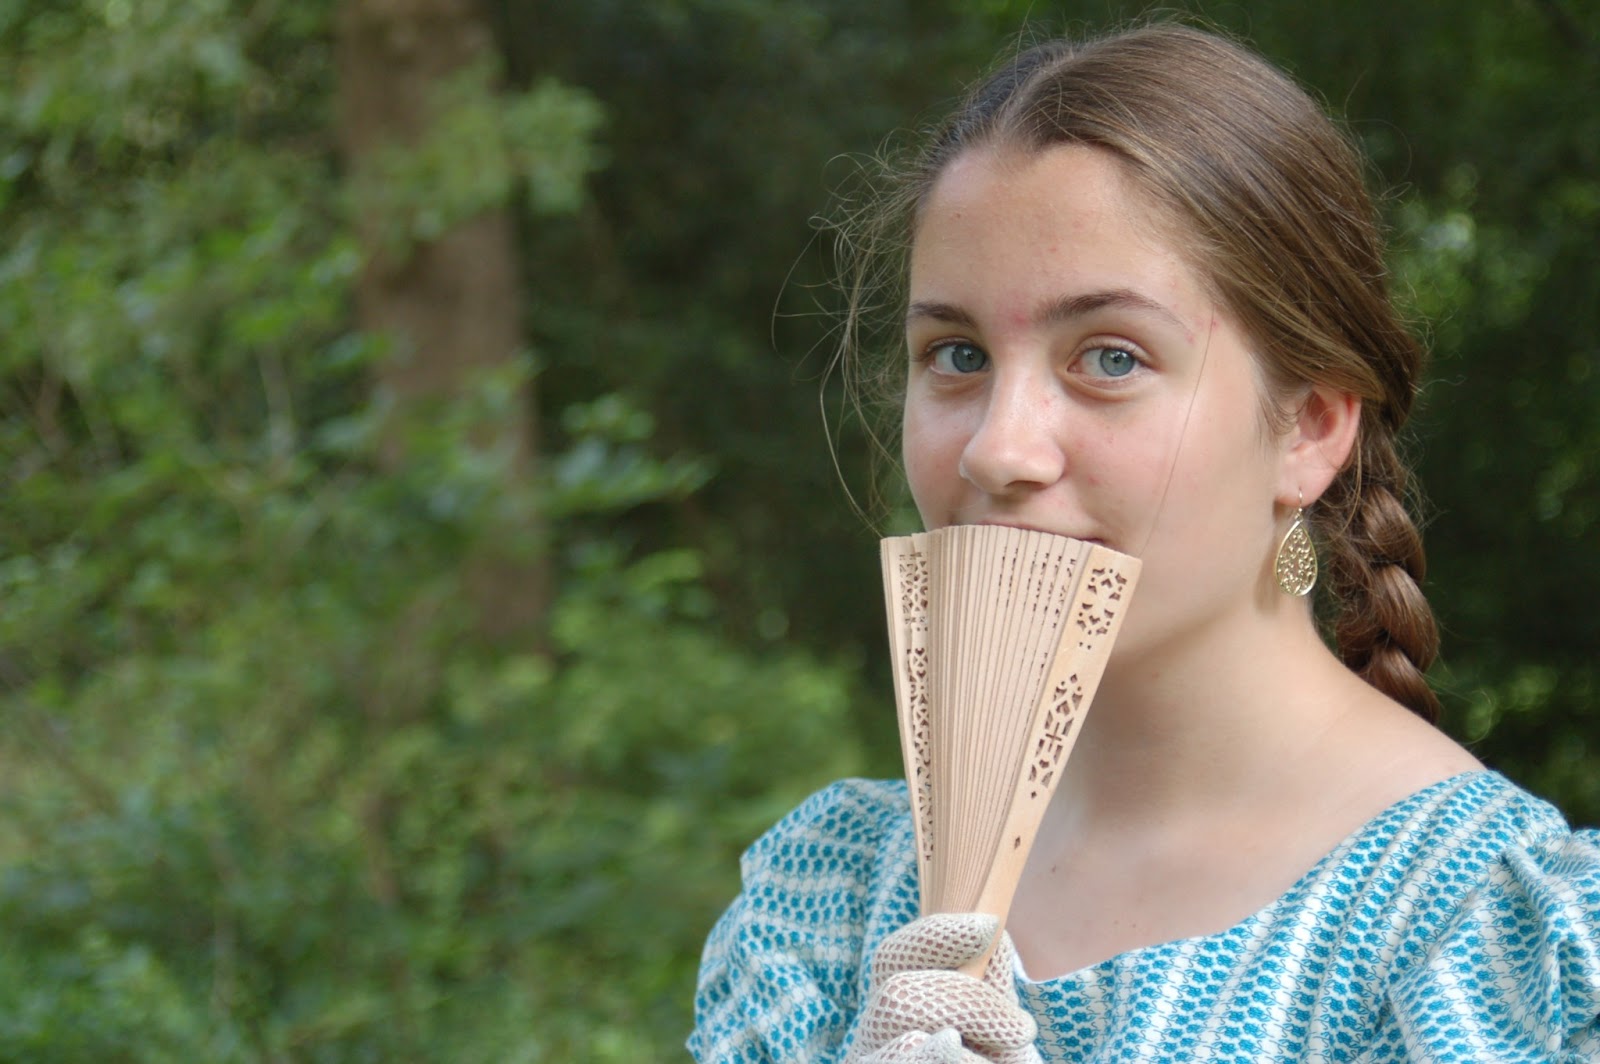
Caroline's best dress got finished up yesterday afternoon :D.  She made the buttonholes and attached all the buttons-these were her first buttonholes.  Yay Caroline! :)  I don't have any pictures of the construction of this dress, but I did take some photos of the finished product.  

For this dress I didn't use a particular pattern.  I draped part of the bodice, and drafted part of it.  My only real problem was that I made the waistband too small (and then ran out of fabric), so instead of the stripes going from the waist out, they get more spread from the neck down. But that's ok.  She's actually not wearing her corset with the dress in these pictures....she didn't feel good laced that tight, so I pulled and pushed with out it to get the hooks and eyes at the waistband to meet with out it.  

I had planned on piping the armholes, the back seams, and the waistband, but in the end only the waistband is piped.  I had piping made for the others, but it was too late by the time I realized I had forgotten to pipe the other seams.  oops.  Well I'll pipe the next dress! 


she said don't look close at the buttonholes...:P (I really think she did a good
job, especially these being her first!


piped waistband


Here you can see the 2 large tucks at the bottom


she's wearing my civil war earrings....not sure about their authenticity,
but that's what I wear anyways :P
And as a bonus, Andrew was so cute in the hoopskirt! :)
he really enjoyed playing peek-a-boo under it too ;)
Overall, it's a pretty good fit, and more accurate than her last one.  I'm glad it's done in time for her to wear it to a girls academy camp she's helping with next week at Latta.  What do ya'll think of the dress?
~Theresa

Saturday, July 20, 2013

13 Tucks later....

I have a tucked petti! I thought I might go insane after I had been sewing tucks for 4 hours straight....but I didn't :P.  I actually do enjoy sewing tucks :).  But with a small sigh of relief I can cross off yet another  project from my to-do list!

I made each tuck 2 inches from the top of the last one.  Each tuck is
3/4 of an inch big

after I measured, I pinned all the way around the skirt to keep  it in place

and then I sewed it down with my fold at the 3/4 inch mark on my machine

I used a pretty little china button with blue painted edges
Those buttons really were a find....I got 9 of them for less than $1.25....oh yeah baby! :D  I also have buttons like that but with black paint, and then some little ones with black designs.
gauging
 This was my first try at gauging a skirt.  Since this is going to be some of the fluff under my homespun, I thought it would be best to use cartridge pleats instead of knife pleats.  It doesn't seam as sturdy to me, but maybe that's just in my head.  I used 3 strands of gathers.  Before I stitched the gathering rows, I folded down the skirt fabric by like 2 and 1/2 inches, so that I didn't have raw edges at the top where I would need to attach it. In one of the pictures below, you can see how I only attached the skirt to the waistband by the "peaks" of the cartridge pleats, instead of sewing through all of the way one would normally sew through gathers.  If I'm not mistaken, this is what makes it poof out at the top of the skirt.
gauging

how the gauging is attached to the waistband

finished petticoat

all 13 tucks
 I used curtains that a lady at church gave me...and the nice part was that they were white and cotton!  They already had a ruffle at the bottom, which I left on there.  It's a pleated ruffle which I thought was cool.  (I like unique things....and this was the first pleated ruffle I've seen so in my mind it's unique.  Anyways...)
ruffle detail

showing how fluffy it is...sorry about the pj's :D  It comes down to
about a hand-span above my ankle.

It's very voluminous!  
And when I'm not wearing it under my homespun, I'm going to use it as my modesty petticoat.  My old one is....well....interesting (and not in a unique way, but that's for another post :P).

~Theresa